
The funny thing about editing software is that most people don’t struggle with the editing first.
They struggle with:
- where to download it
- how to register
- where the trial code goes
- why the software didn’t start downloading automatically
So instead of making this feel like a technical manual, I’ll just walk through the actual process the same way most photographers do it.
Simple.
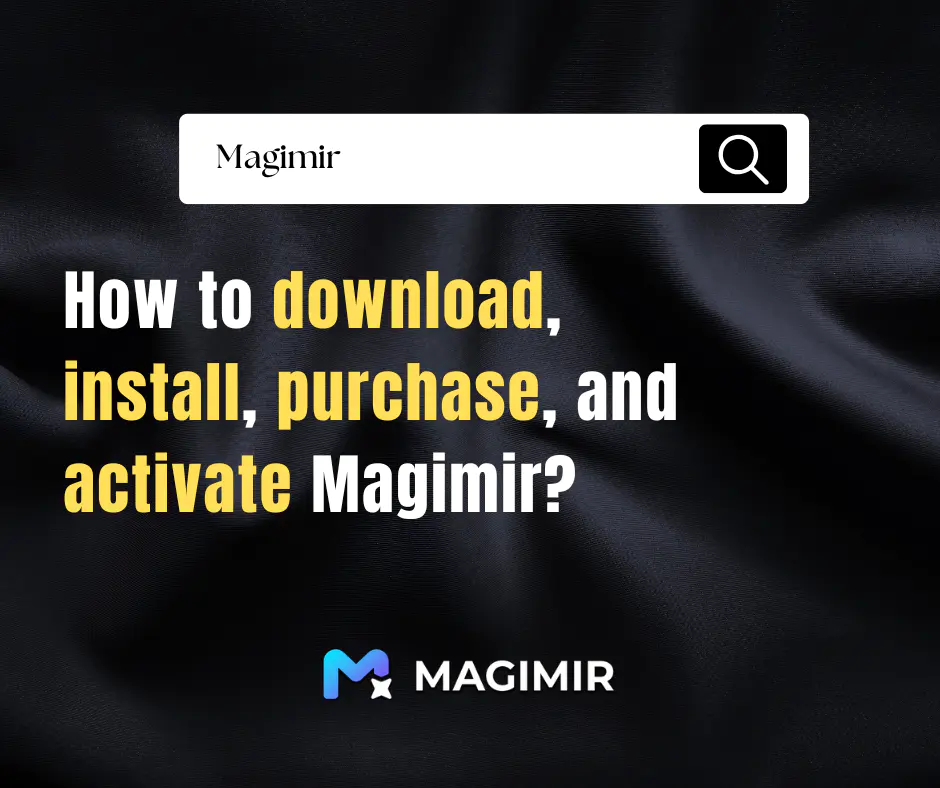
Step 1 — Search “Magimir” on Google
Open Google and search:Magimir
Then click the official website.
Try to choose the version that matches your country or language if available. It usually makes the payment methods and support experience smoother later.
Step 2 — Click “Free Trial”
Once you enter the official website, you’ll see a Free Trial button.Click it.
That’s where the registration process starts.
Step 3 — Register With Your Email
Enter a valid email address and complete registration.
If your region uses subscription billing, the system may ask you to bind a payment card for future subscription payments.
A lot of people hesitate here at first.
But honestly, this is already very common across professional creative software today.
Step 4 — Check Your Gmail Verification Code
After registration, Magimir immediately sends a verification code to your Gmail inbox.
Usually it arrives within seconds.
If you don’t see it:
- check Spam
- check Promotions
- refresh the inbox once or twice
This part trips people up more often than the software itself.
Step 5 — Download Magimir
Step 6 — Choose the Blue Option (Recommended)
If your computer configuration is good enough, choose the blue option during installation.
Magimir will automatically download the version best suited for your computer’s graphics card.
Honestly, this matters more than people think.
A properly matched GPU version usually means:
- smoother previews
- faster exports
- more stable batch editing
Especially when handling large wedding or event projects.
Step 7 — Log Into the Software
After installation:
- Enter the same email you used on the website
- Input the verification code
- Log in
That’s it.No complicated activation process.
Step 8 — Activate the Trial
If you received a trial activation code:
Go to: Settings → Fourth Option
Then paste the activation code.
Your trial experience will begin immediately.
This is usually the moment photographers start testing:
- batch editing
- portrait retouching
- color workflows
- export speed
- tethered shooting
- delivery efficiency
Step 9 — Buy After the Trial
After the trial ends:
Click: Purchase (in the upper-left area of the Magimir workspace)
Then complete payment to continue using the software freely.
Common Things New Users Ask
“Do I need Photoshop experience first?”
Not really.
A lot of Magimir users actually come from:
- Lightroom workflows
- studio delivery systems
- wedding batch editing
- fast commercial retouching
The learning curve is much lighter than traditional manual retouching software.
“Can I use it for large batches?”
Yes.
That’s honestly one of the biggest reasons photographers use Magimir.
Especially for: weddings//graduation photos//event photography//documentary work//studio batch delivery
“What if I run into problems?”
You can contact the official Magimir team directly anytime.
Including:
- feature questions
- pricing questions
- promotions
- activation issues
- subscription cancellation
- technical support
Official Magimir Contact Channels
Facebook:https://www.facebook.com/magimirretouch/
Instagram:https://www.instagram.com/magimirrai/
YouTube:https://www.youtube.com/@MagimirRetouching/shorts
Email:contact@magimir.com
WhatsApp:
Final Thoughts
Most photographers don’t actually care whether software looks “advanced.”
They care whether it helps them:
- deliver faster
- reduce repetitive work
- stay consistent
- make editing less exhausting
That’s probably why people usually understand Magimir best after actually using it for a real project instead of just watching demos.