
The beginner mistakes I stopped making after editing thousands of portraits
There was a period where I thought good retouching meant fixing everything.
Smoother skin. Sharper jawline. Cleaner colors. Slimmer face.
And technically, the photos looked “better.”
But weirdly, they also started feeling less real.
At some point I realized most bad portrait editing isn’t caused by bad tools. It’s caused by over-correcting things that should still look human.
Especially skin.
The strange part is that skin can be soft and clean while still keeping texture, depth, and unevenness. Real skin is not perfectly even. It has tiny color shifts, brighter areas, softer shadows, and subtle blood flow under the surface.
Once you remove all of that, people stop looking alive.
The First Thing I Learned: Skin Tone Consistency Matters More Than Skin Smoothing
A lot of beginner retouchers focus on texture first.
I did too.
I used to spend forever fixing pores while ignoring the fact that the forehead was yellow, the cheeks were red, and the shadows were turning green-gray.
The portrait never looked clean because the color structure itself was messy.
That changed how I edit.
Now, before touching skin retouching tools, I usually check:
- brightness balance
- shadow transitions
- warmth consistency
- orange/red relationships
- facial contrast
Honestly, skin tone consistency fixes more portraits than skin smoothing ever will.
Most Skin Tone Problems Actually Begin in the Shadows
This surprised me when I first noticed it.
People think skin problems come from highlights or saturation, but most uneven skin starts inside darker areas:
- under the eyes
- jaw shadows
- nose sides
- neck transitions
Once shadows shift too green, too magenta, or too muddy, the whole face feels dirty.
This is where curves help way more than people expect.
Not dramatic curves. Just small ones.
A soft S-curve often cleans up facial transitions before retouching even starts. Sometimes lifting shadows slightly makes skin feel more expensive than adding heavy smoothing later.
And because color changes with brightness, cleaner tonal structure naturally creates cleaner skin color too.
That’s also why real-time preview matters more than people think.
In Magimir, I can adjust curves, exposure, and color transitions without constantly exporting versions to compare. Tiny changes in facial warmth are subtle. Breaking the workflow every two minutes makes it much harder to judge naturally.
How I Actually Fix Uneven Skin Tones Now
Not perfectly. Just more naturally.
The workflow became much simpler once I stopped chasing “perfect skin.”
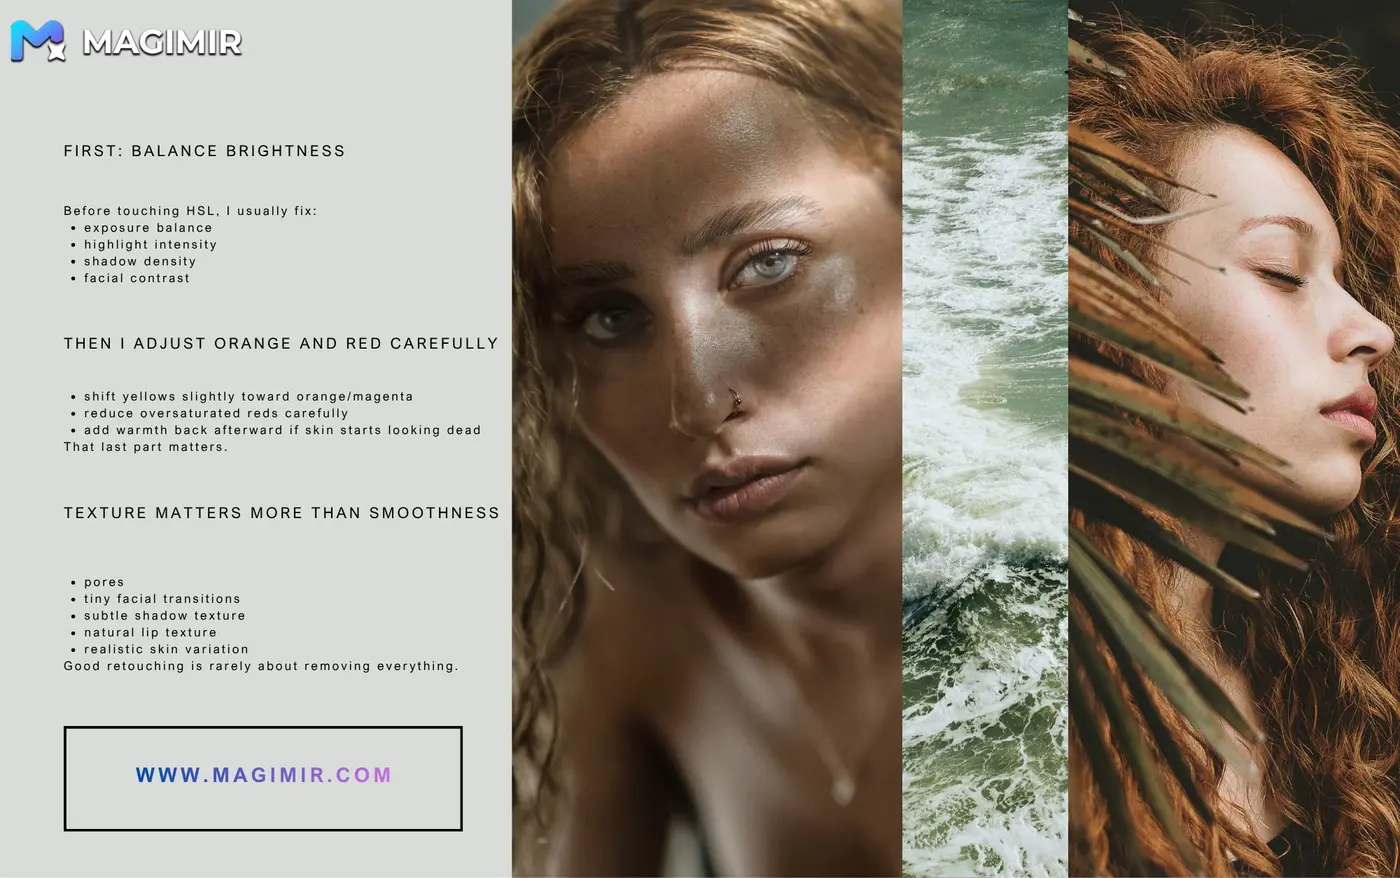
First: Balance Brightness
Before touching HSL, I usually fix:
- exposure balance
- highlight intensity
- shadow density
- facial contrast
Because uneven light creates uneven color.
This part matters a lot more than most tutorials admit.
Then I Adjust Orange and Red Carefully
Most portrait skin work centers around orange and red hues.
Not only those channels. But mainly those.
One thing I used to do wrong constantly:
Removing too much red.
The skin became gray immediately.
Now I usually:
- shift yellows slightly toward orange/magenta
- reduce oversaturated reds carefully
- add warmth back afterward if skin starts looking dead
That last part matters.
Human skin still needs warmth, even in cooler edits.
A Trick That Helped My Portraits Look Cleaner
This was honestly one of those small things that changed a lot.
If skin looks muddy, don’t immediately brighten it.
Sometimes lowering orange saturation slightly works better than increasing exposure.
Over-brightening skin often destroys depth. Reducing dirty color usually preserves it.
That difference is subtle, but portraits feel much more believable afterward.
Liquify Is Usually Where Portraits Start Falling Apart
I still think people overuse liquify way too much.
Especially beginners.
The problem isn’t reshaping itself. The problem is forgetting structure.
Real faces have weight distribution, asymmetry, and proportion relationships.
For example:
- calves should not become thinner than ankles
- jawlines still need natural transitions
- eyes should not become perfectly symmetrical
- cheekbones need shadow support or they float unnaturally
A lot of retouching starts looking fake because people edit features individually instead of thinking about the entire face structure.
That took me years to understand properly.
Magimir actually helps here more than expected because the facial reshaping tools preserve proportional relationships surprisingly well. You can refine:
- forehead fullness
- cheek structure
- jaw balance
- eye symmetry
- double chin transitions
without instantly creating that stretched “beauty filter” look.
And honestly, that’s harder than it sounds.
Texture Matters More Than Smoothness
The weird thing about portrait retouching is that viewers notice fake texture faster than they notice bad editing.
Plastic skin feels wrong immediately.
Even non-photographers can feel it.
That’s why I usually keep:
- pores
- tiny facial transitions
- subtle shadow texture
- natural lip texture
- realistic skin variation
Good retouching is rarely about removing everything.
It’s more about removing distractions while keeping the face believable.
Final Thoughts
I used to think professional retouching meant making people look “perfect.”
Now I think it’s mostly about making edits disappear.
Balanced skin tones. Natural structure. Cleaner transitions. Texture that still feels alive.
The best portraits usually don’t look heavily edited at all.
They just feel calm, intentional, and visually clean in a way people can’t immediately explain.